How To Backup and restore server email on Microsoft Outlook
We are going to look at How To Backup and restore server email on Microsoft Outlook on this post. A lot of people have done so many troubleshooting on this topic to find out how to get their emails backed up on their server. This post is going to show us how to do that in some simple steps.
Easy Steps to backup server emails on Microsoft Outlook
- The first step will be to open up your Microsoft outlook application where you have access to your emails.
- Next step will be to click on file at the top left corner of the Microsoft outlook application and then click on import and export.
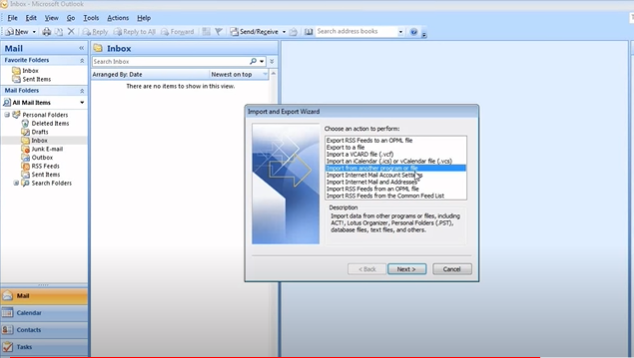
- A pop up display will show on the screen and then you will need to make a selection.
- Click on "Export to a file" option from the list displaying.
- We are going to back up on a personal folder. So, select "Personal Folder File (.pst)" that shows on the display.
- To create the backup using a .pst file, we need to select a file or folder where we want our backup files to enter.
- Next thing to do is to select where you want that .pst file to be stored so that you can access them easily.
- The pop up will display options such a "Save duplicate on server". Now this part will be handled at your own discretion.
- On the new display, you will see that you can rename the folder to show the where you want the files saved. Note that you will need to create a password that you can remember on this part.
- Microsoft will ask you to enter your password again.
- If you saved the backup files in your desktop display then go to the screen where its saved and then right click on the saved data and check the properties to see the size and other details of the backed up file.
This post has listed the necessary steps that will enable you have a complete backup of your server emails using outlook. You can contribute to this post by leaving a comment in the area designated for commenting.
Comments
Post a Comment